Loading a New BAPLIE
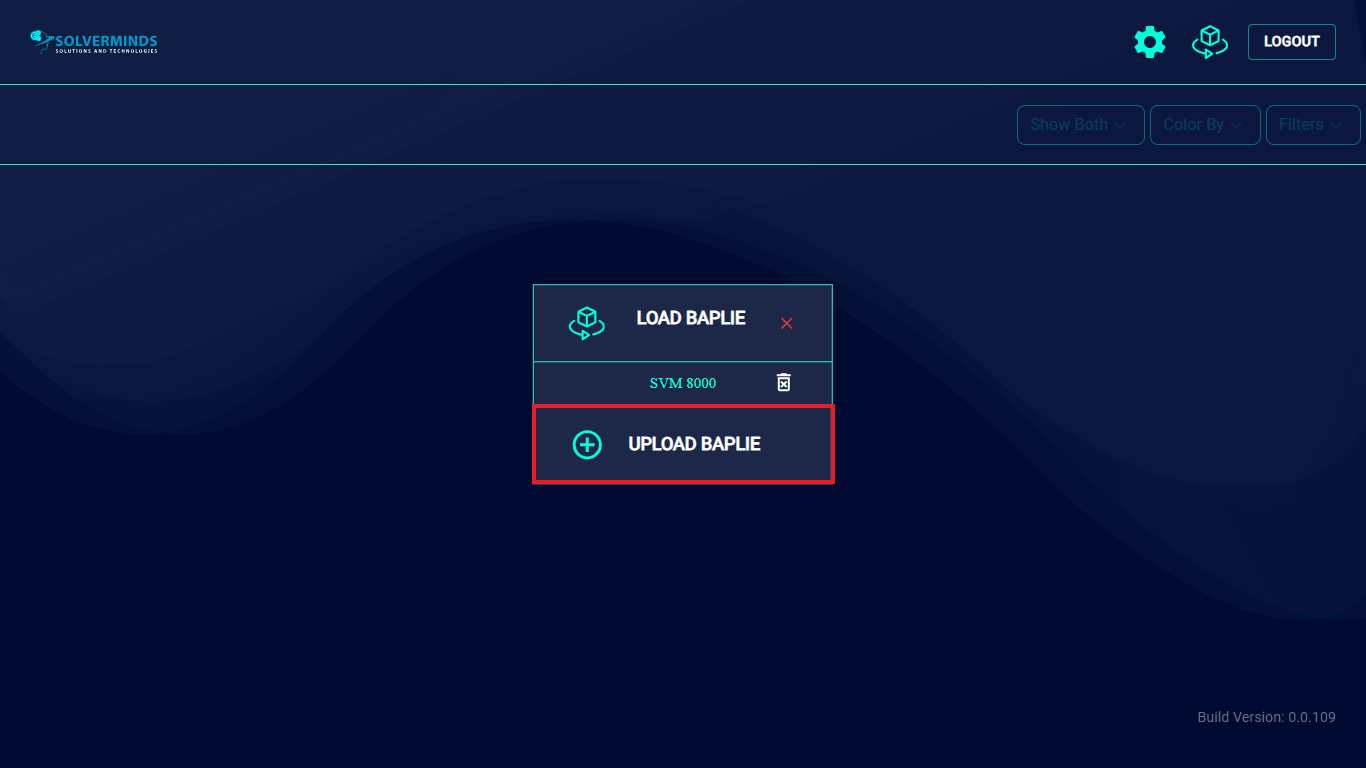
To upload a new BAPLIE, you need to click UPLOAD BAPLIE on the Home Page.
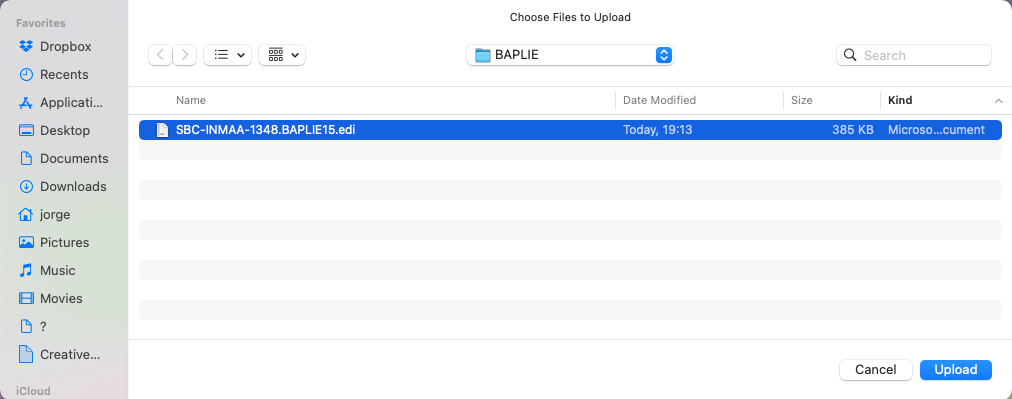
The file browser is displayed. Here, you need to browse to the location where the BAPLIE file is stored, select it, and then click the Upload button.
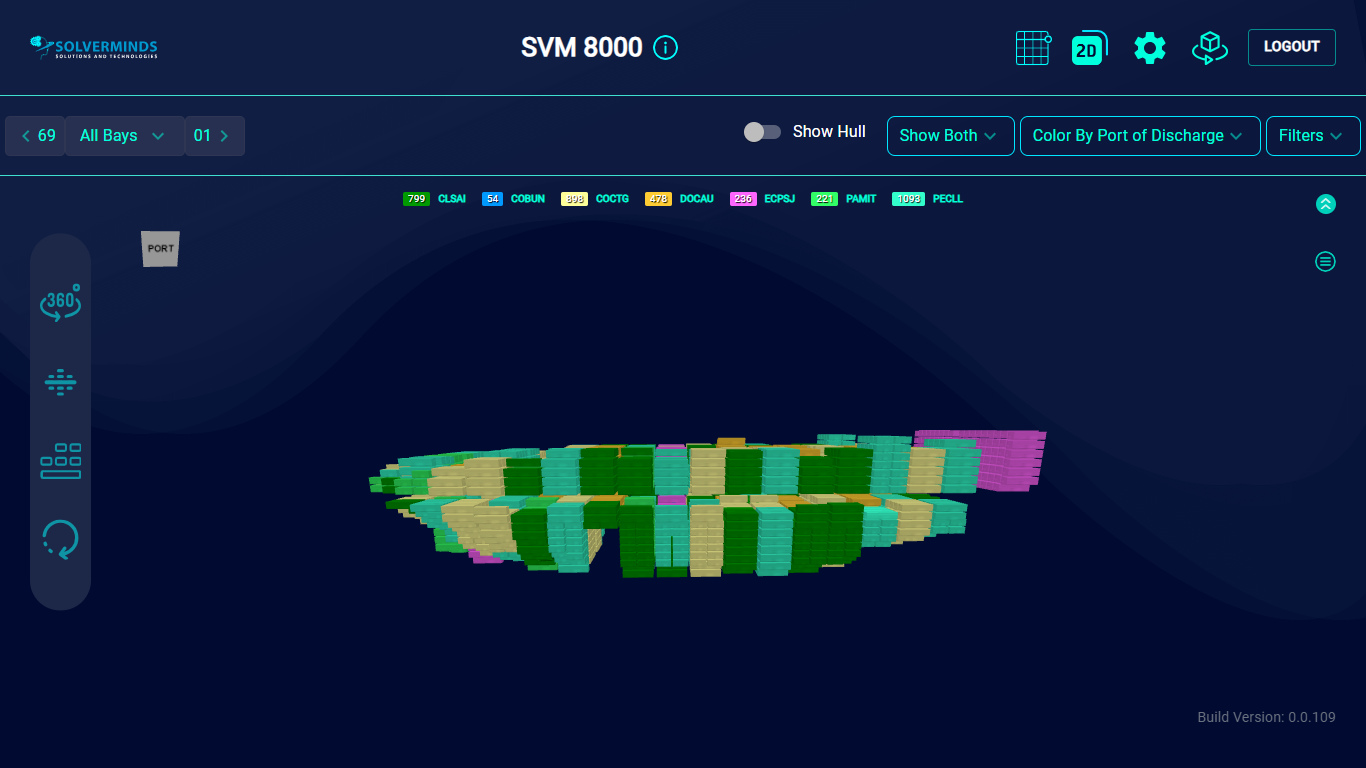
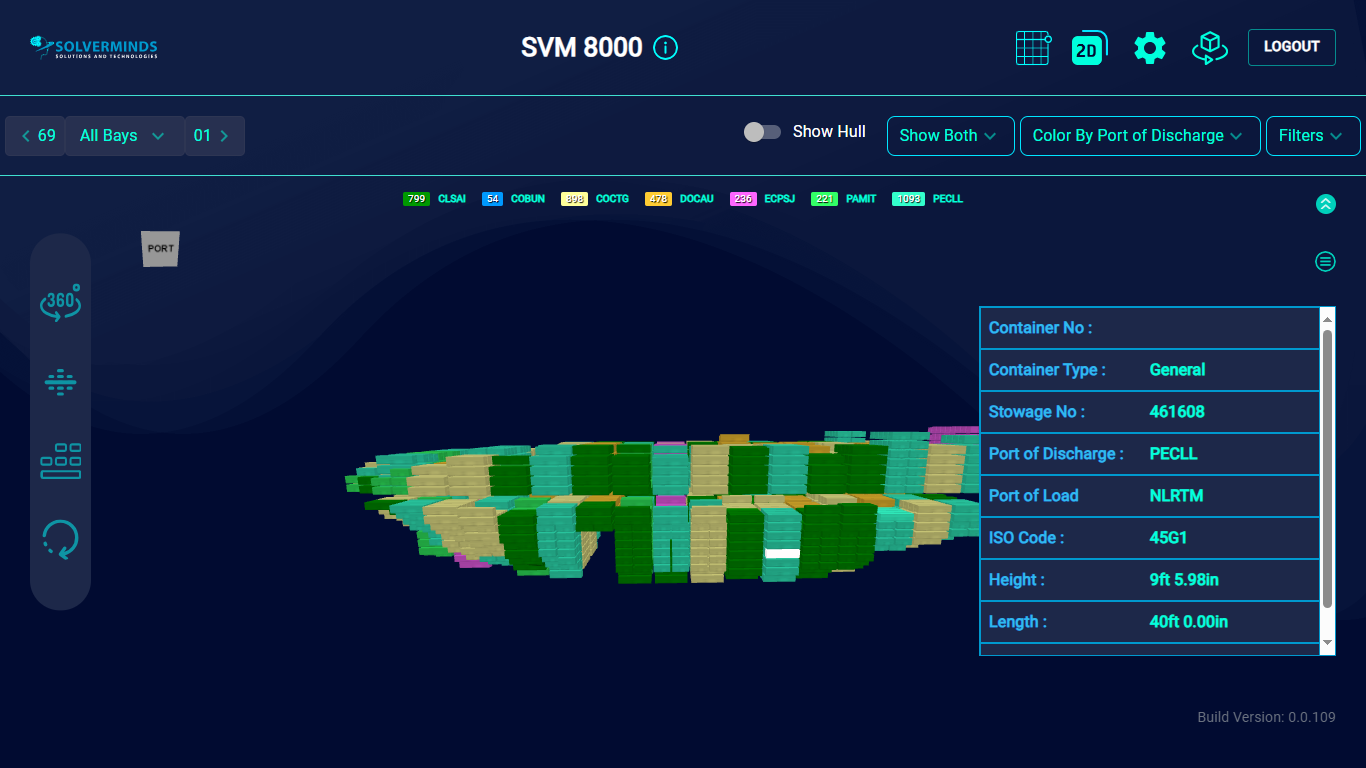
The Baplie is successfully loaded. By default, the vessel is displayed in the 3D view. Using the scroll wheel on the mouse, you can zoom in or out.
Selecting a particular container will display its details in a table.
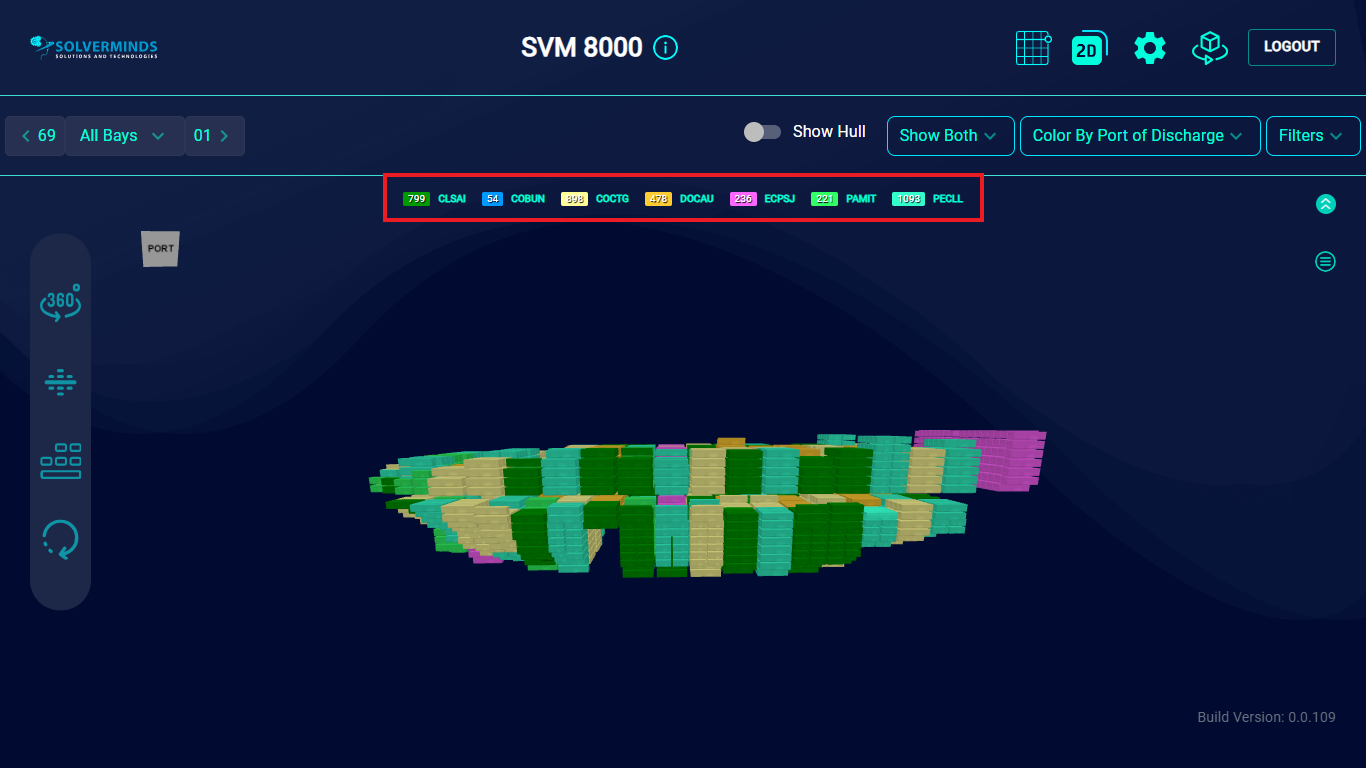
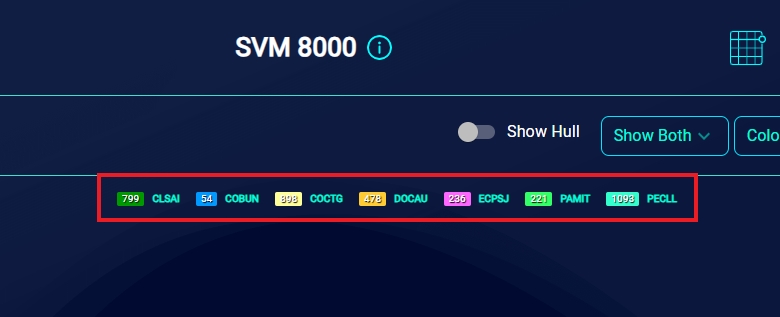
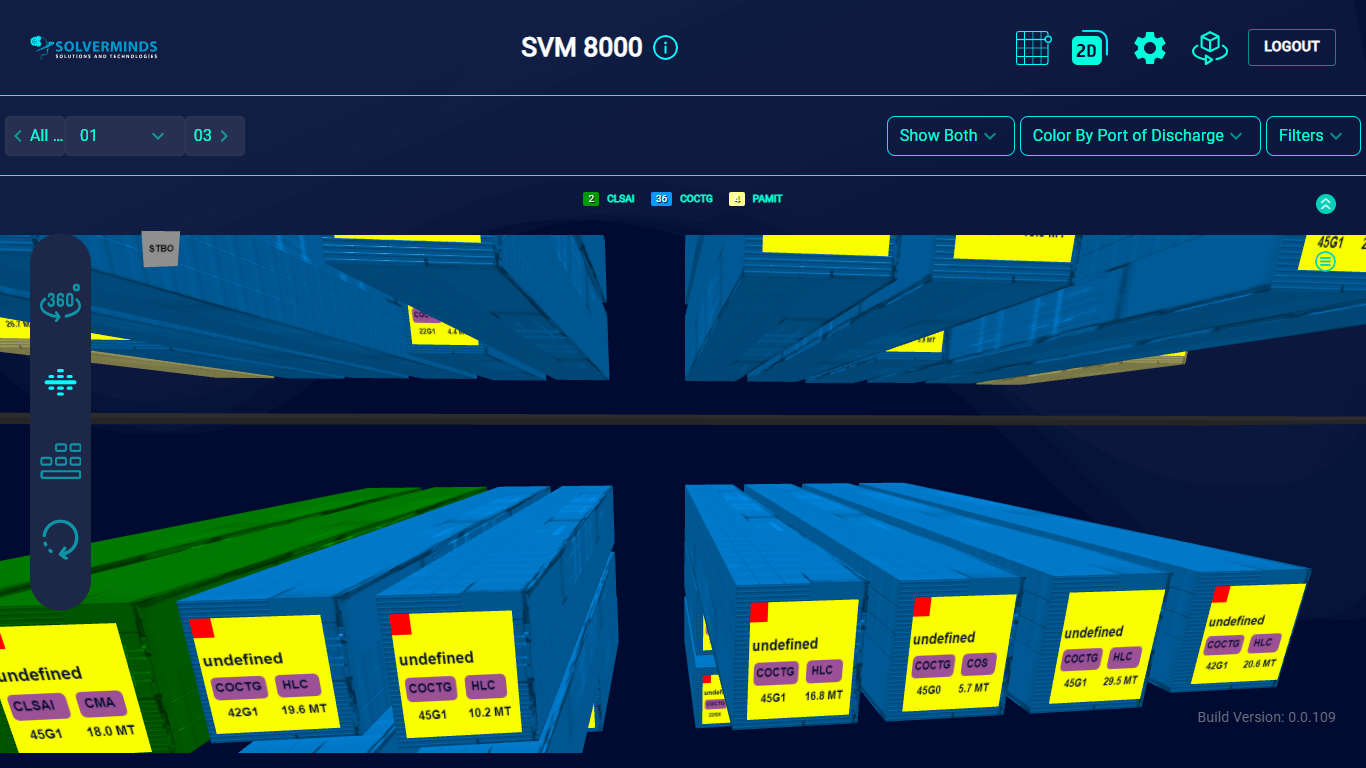
Directly beneath the top band of the screen is a list of PODs. Beside each POD is a color coded number which indicates how many containers are going to be discharged at that port. The same color is used to mark all those containers in the vessel.
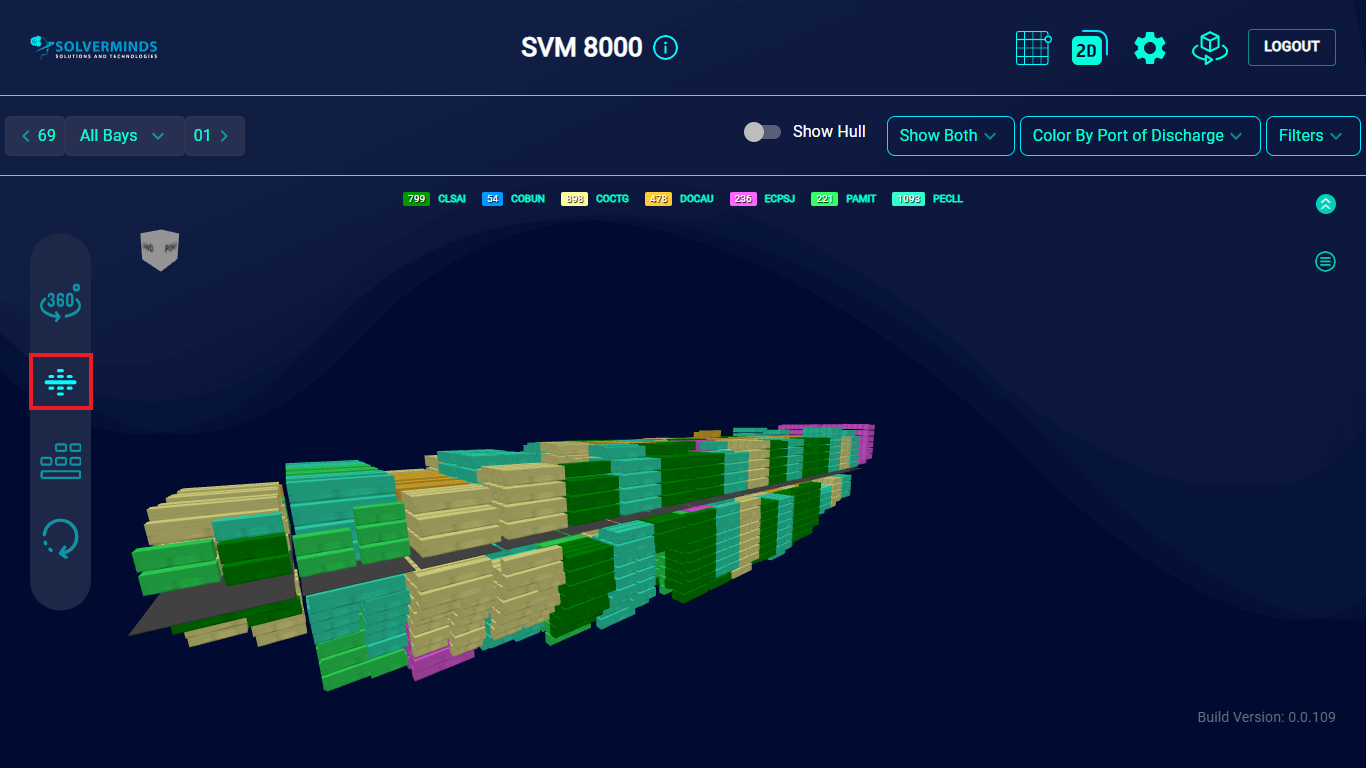
A set of toggle buttons have been provided at the left-hand side of the screen. Using these, you can view the vessel in 3D. For instance, clicking the 360 degree button makes the image of the vessel rotate to provide you a 360 degree view. To turn off this view, you need to click this button again.

Similarly, you can click the Hatch button to enable/disable the hatch covers view.
Selecting the Reset button restores the vessel view to the initial/default position.
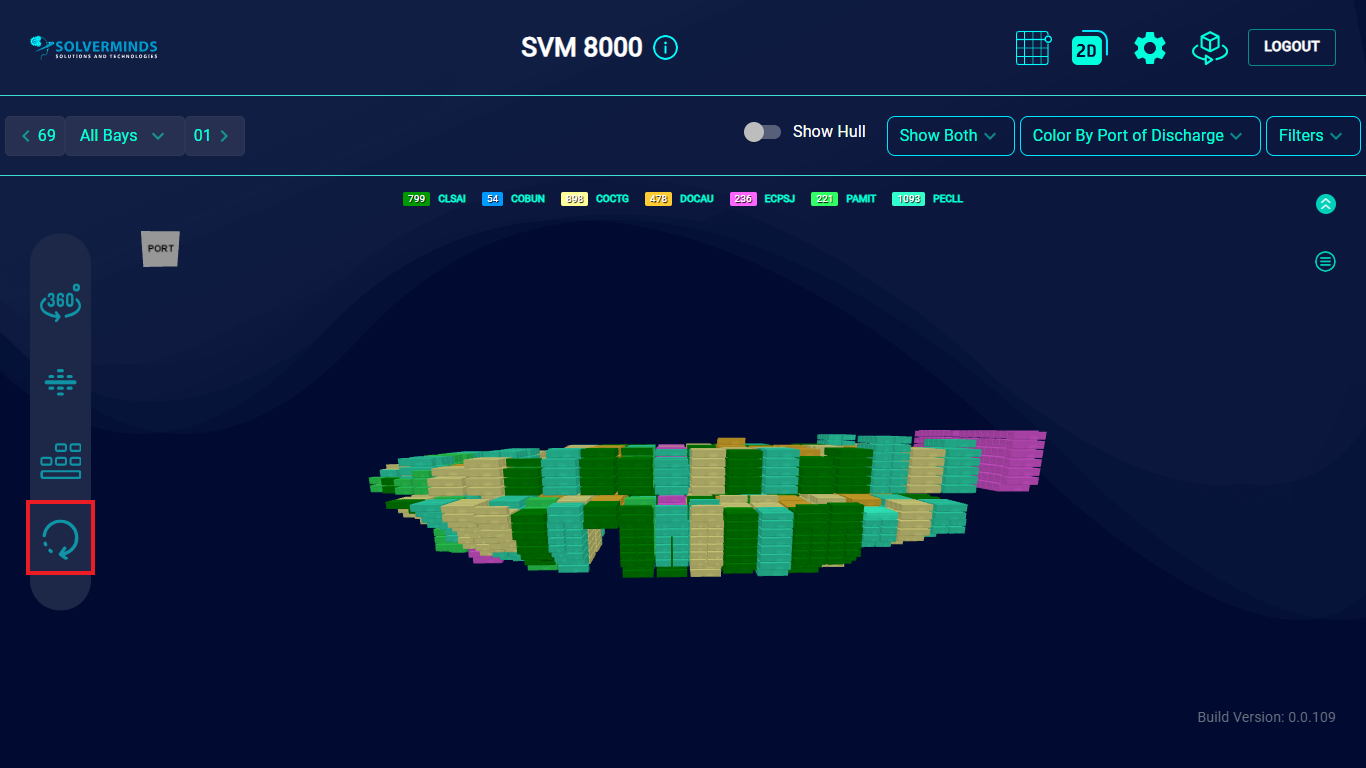
You can also use the Vessel View button to have an all-round view of the vessel. All you need to do is use the mouse to turn the button left or right. In keeping with the movement of the mouse, the image of the vessel will move too, thus enabling you to view the Port view, Aft view, Starboard side view and the top and bottom of the vessel.

Using the options in the top band of the screen, you can customize the view of the vessel.
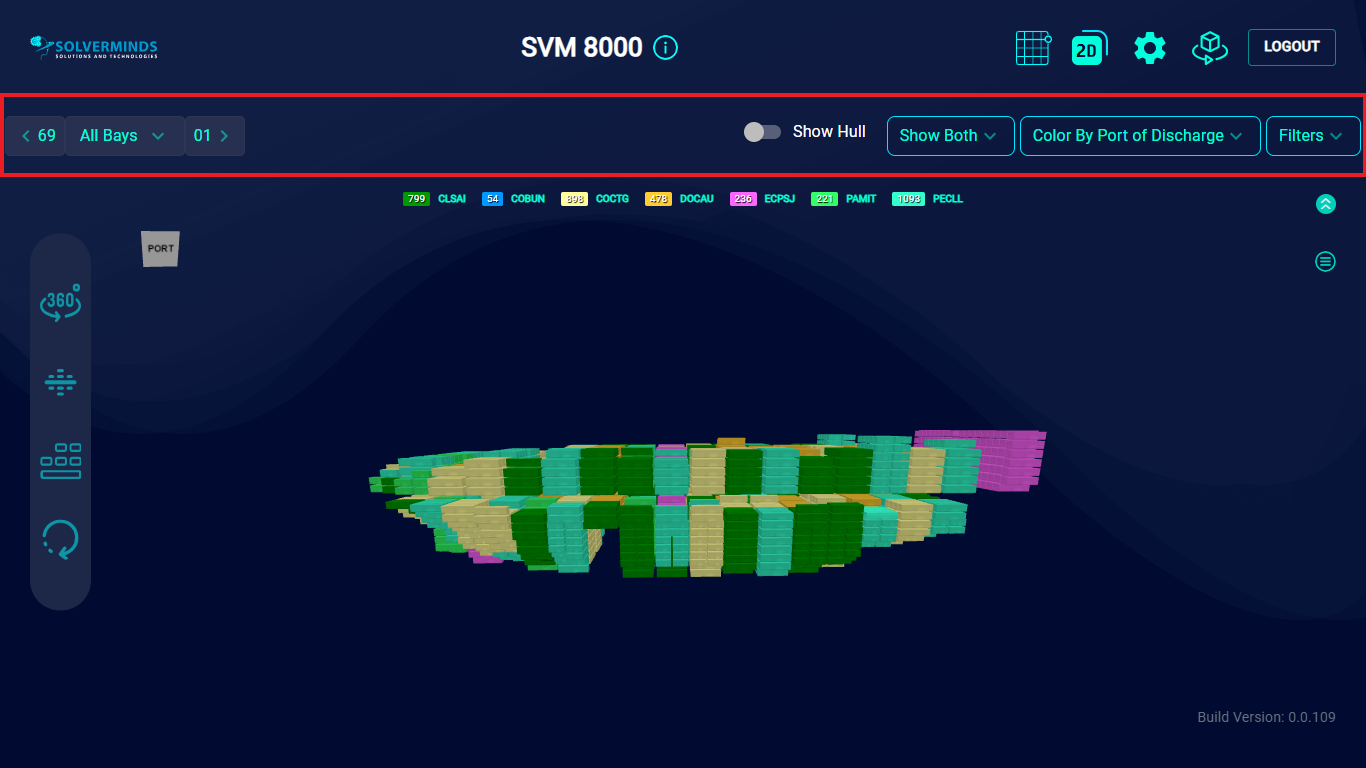
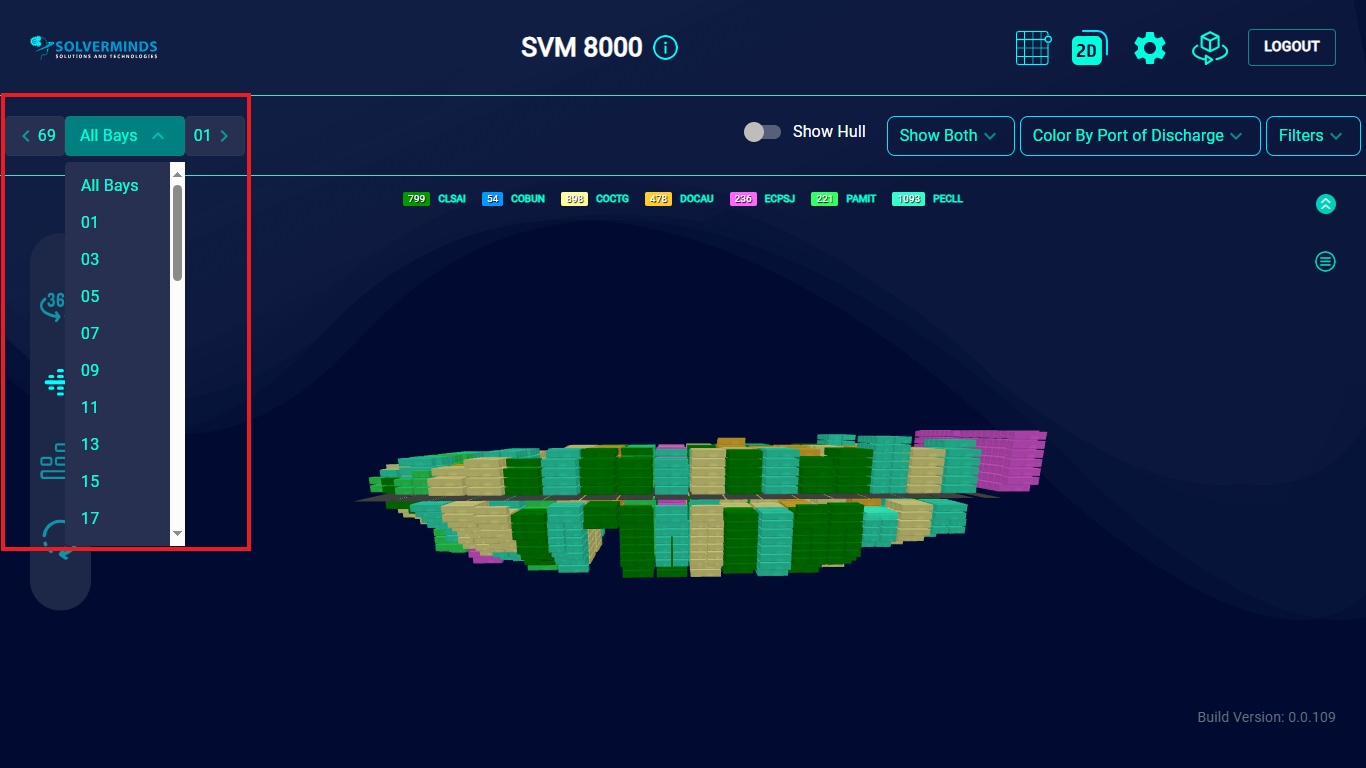
For example, in the left-hand corner of the top band is the bay list. By default, you can see all the bays in the vessel. However, you can take a closer look at a specific bay by selecting a particular bay number from the list.
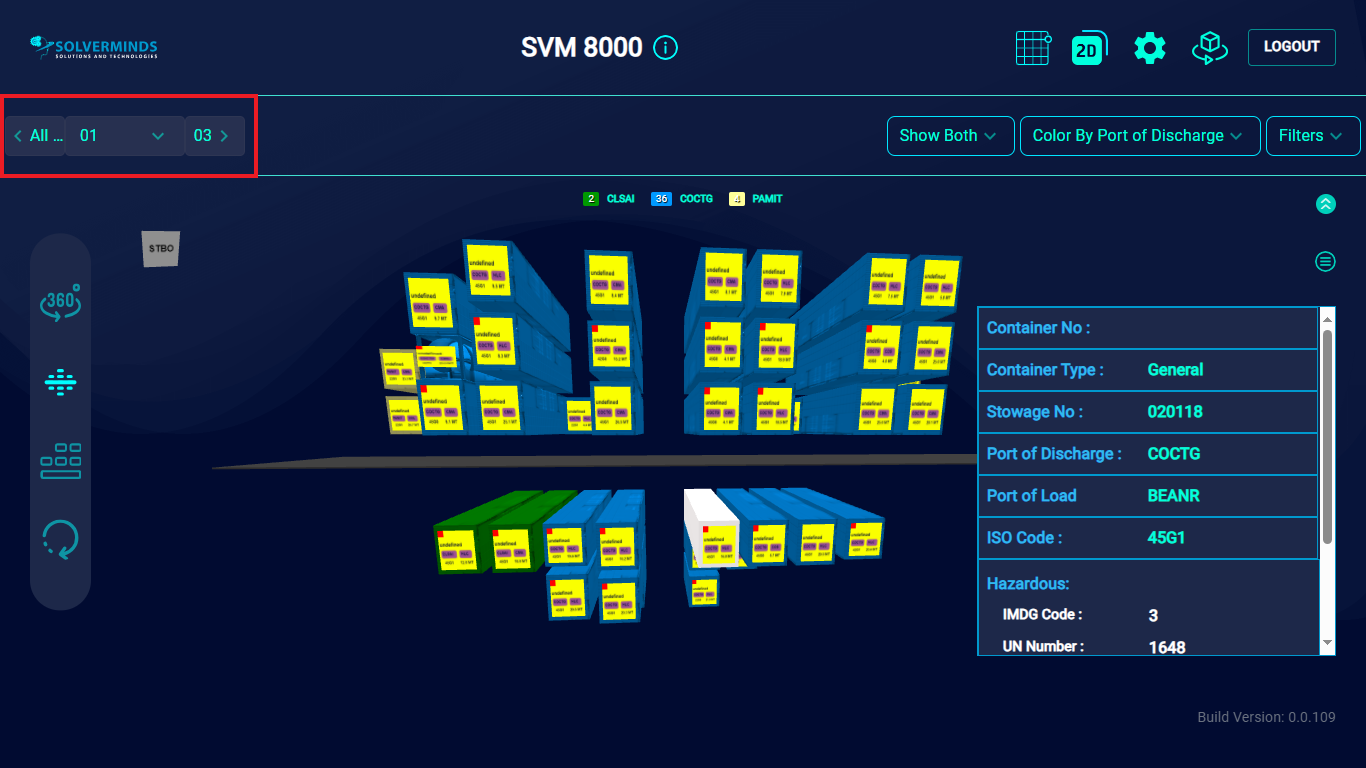
On selecting a particular bay, in this case, Bay 01, a view of only the selected bay is displayed.
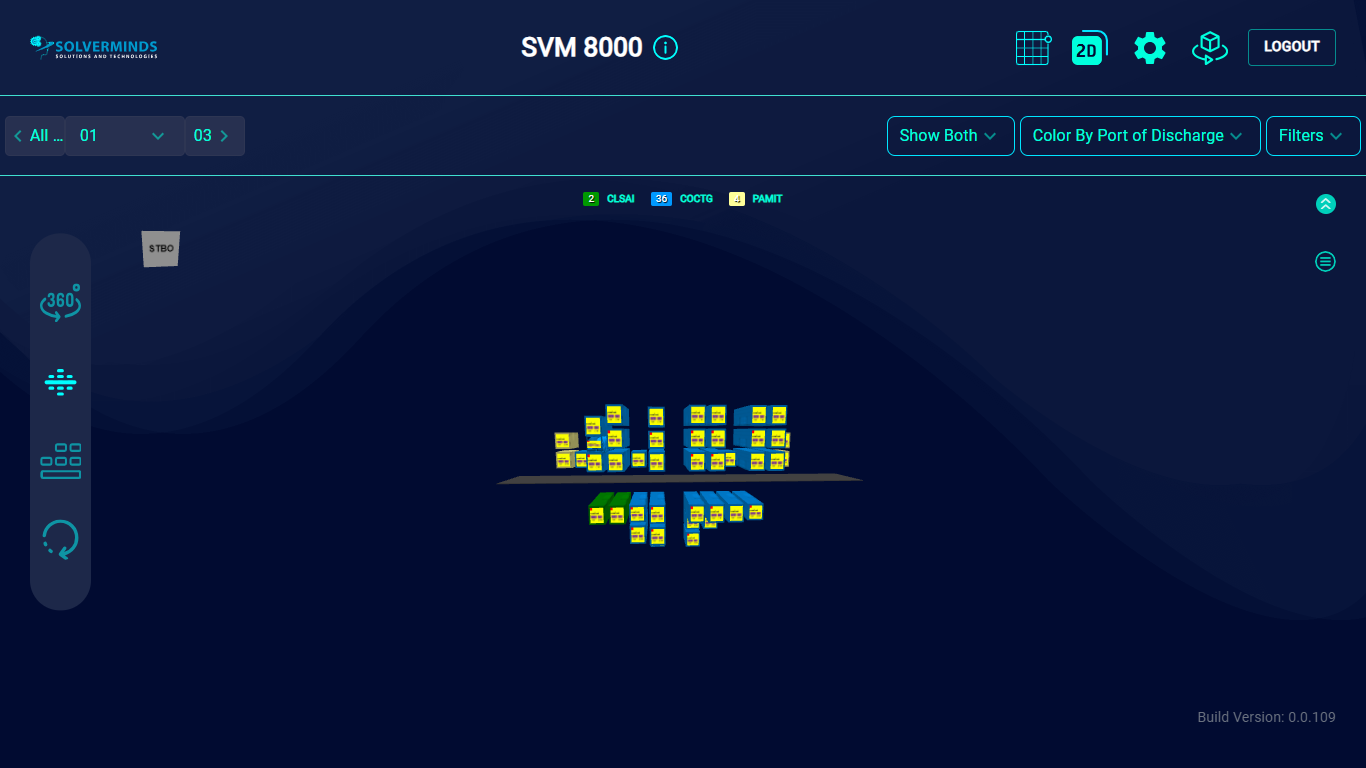
You can take a closer look at this bay by zooming in. This displays the details, such as the port of discharge and the operator code for each container.
For more details about a particular container, you can select the container. Every detail pertaining to the container, such as the type of cargo, the ISO code, the POD/POL information and so on, is displayed in a table next to it.

You can switch bays by going back to the bay list. Apart from selecting a bay number from the drop-down list, you can use the options on either side of the bay number list to either return to the All Bay view or go to the immediate next bay.