Export
You can use the options in the Export list to export data. From the list, you mainly need to select the format in which to export the data.
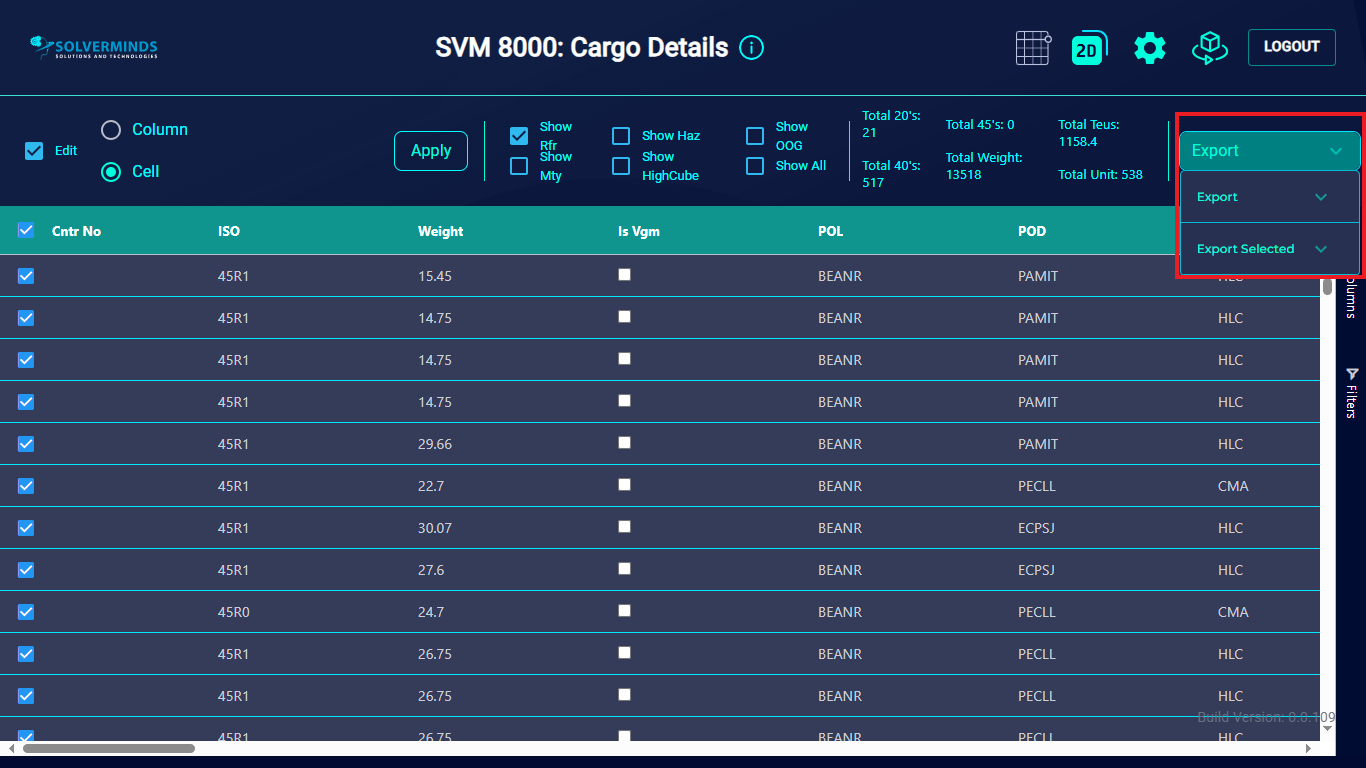
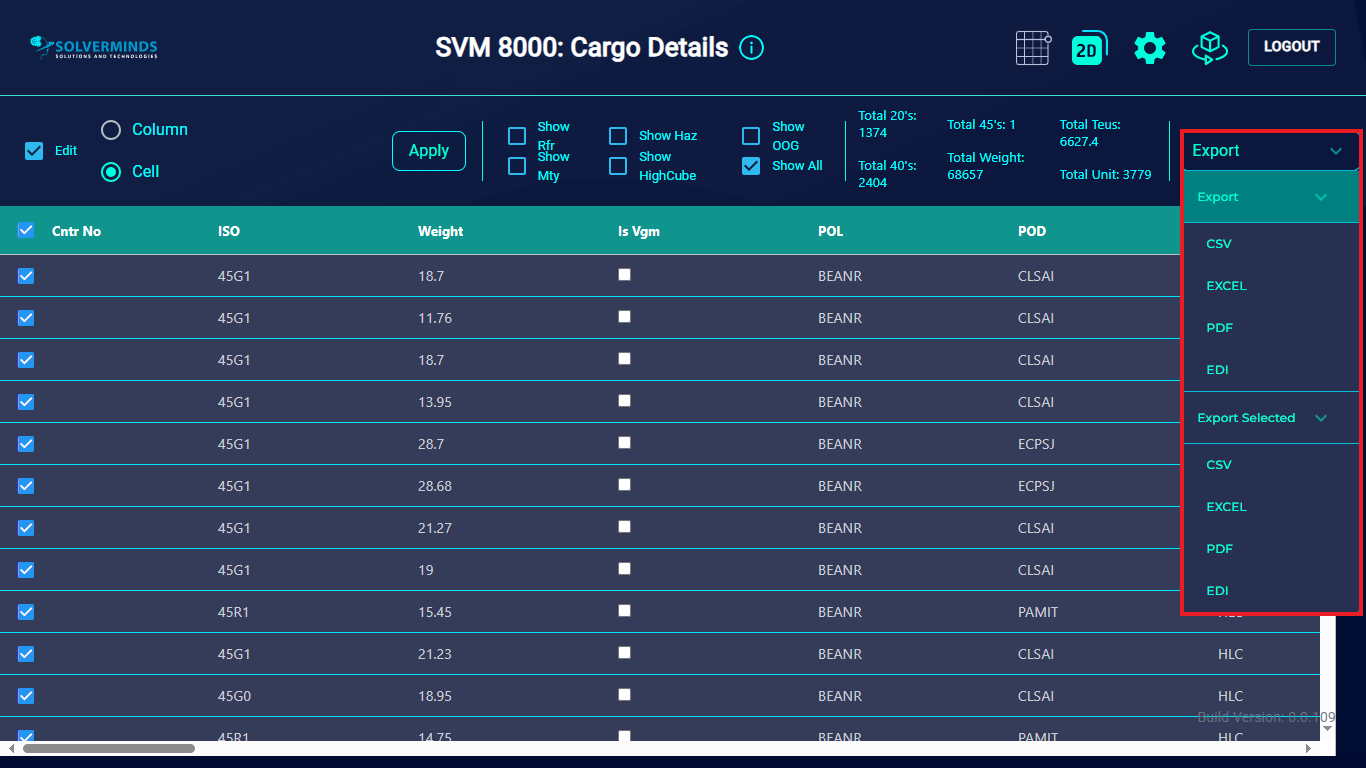
If you want to export all the data, then from the Export section, you need to select the format into which to export and data. If you want to export only specific fields and data, then, after you have made the necessary selections at the top, then from the Export list, you need to select the format in which to export the data. You can pick from the CSV, EXCEL, PDF, and EDI formats.
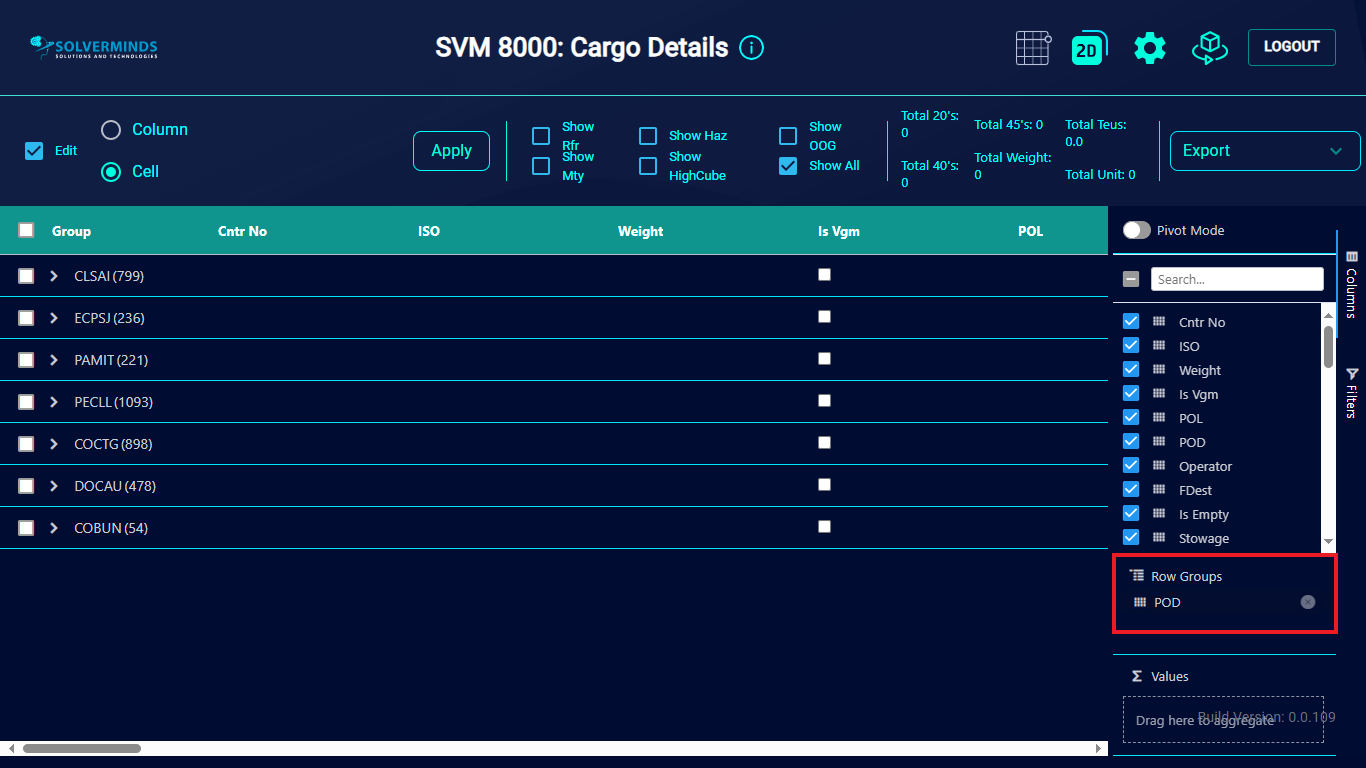
On the right-hand side of the screen, there are two options that enable you to show or hide columns from the table. To display these options, you need to click the Columns option at the right-hand side.
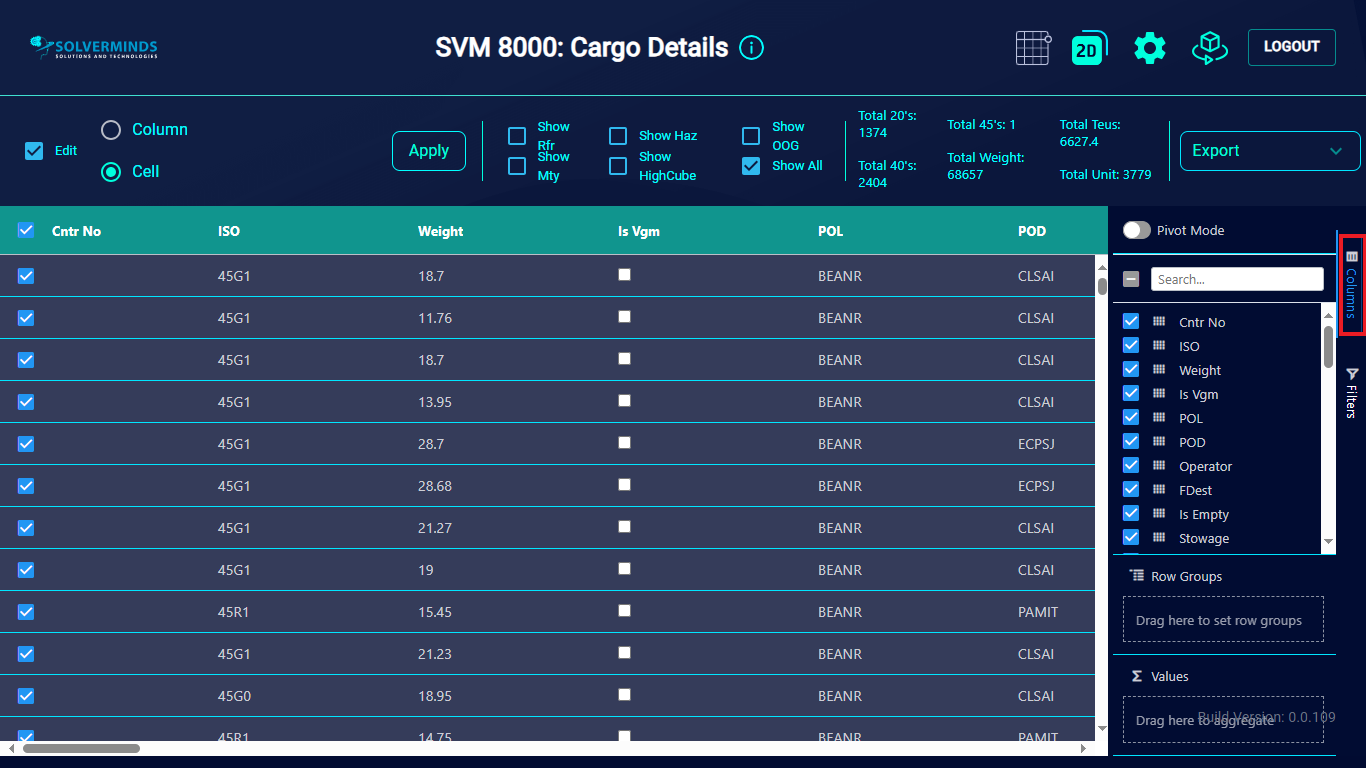
The list of columns is displayed. Here, you need to drag a column to the Row Groups section to set the filter. In this example, the POD attribute has been dragged. In keeping with this selection, the information on the screen is updated to display all the ports of discharge with the number of containers for the specific port mentioned in parenthesis next to the port code.
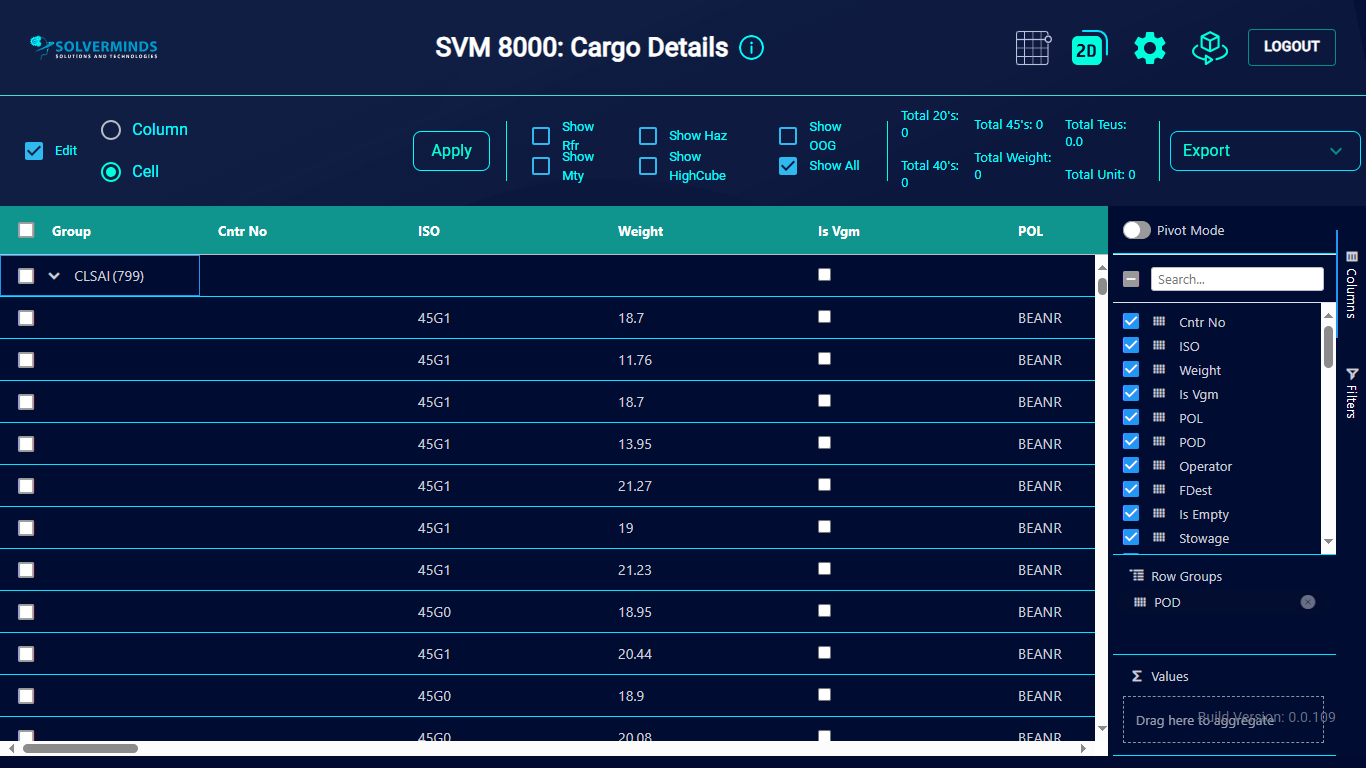
You can expand each port to view the individual containers. Here, you can select the specific containers that you want to add to the report.
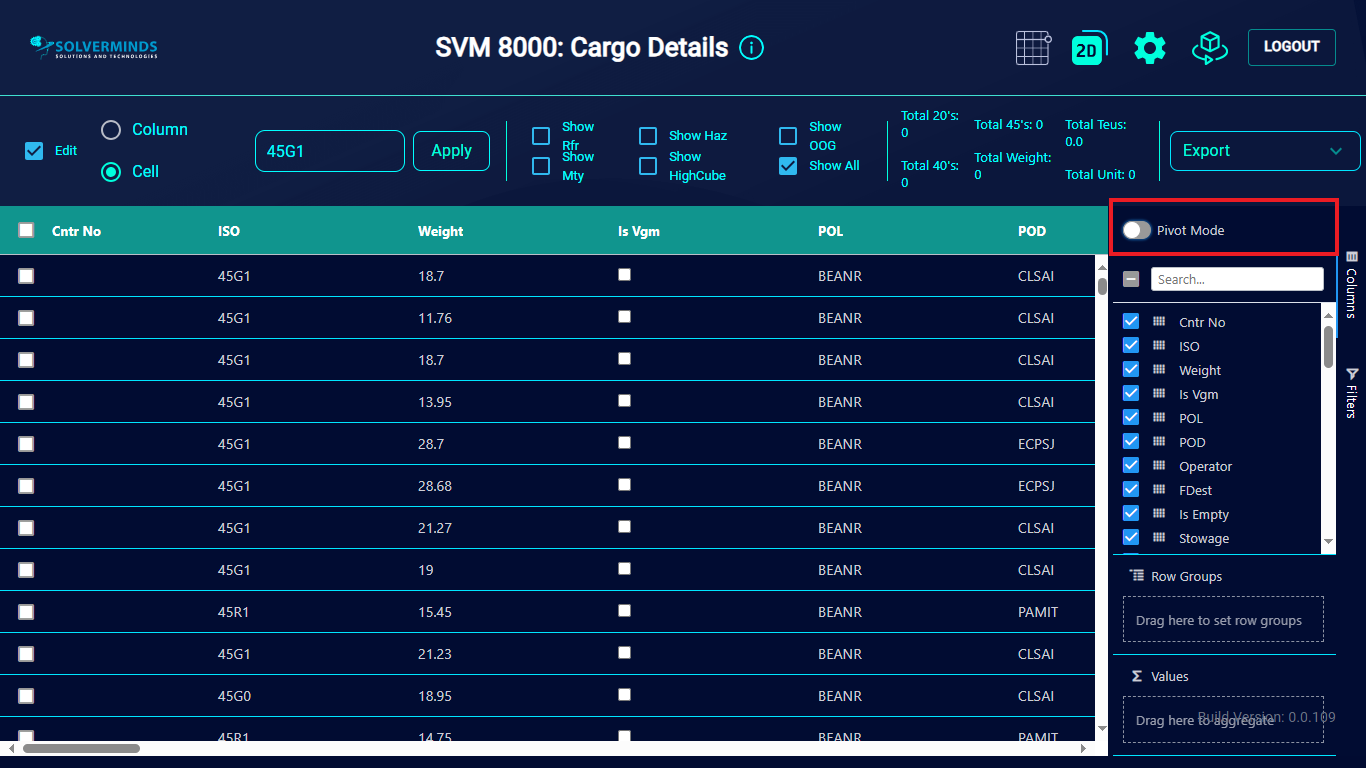
You can enable or disable the Pivot mode by selecting the Pivot mode option.
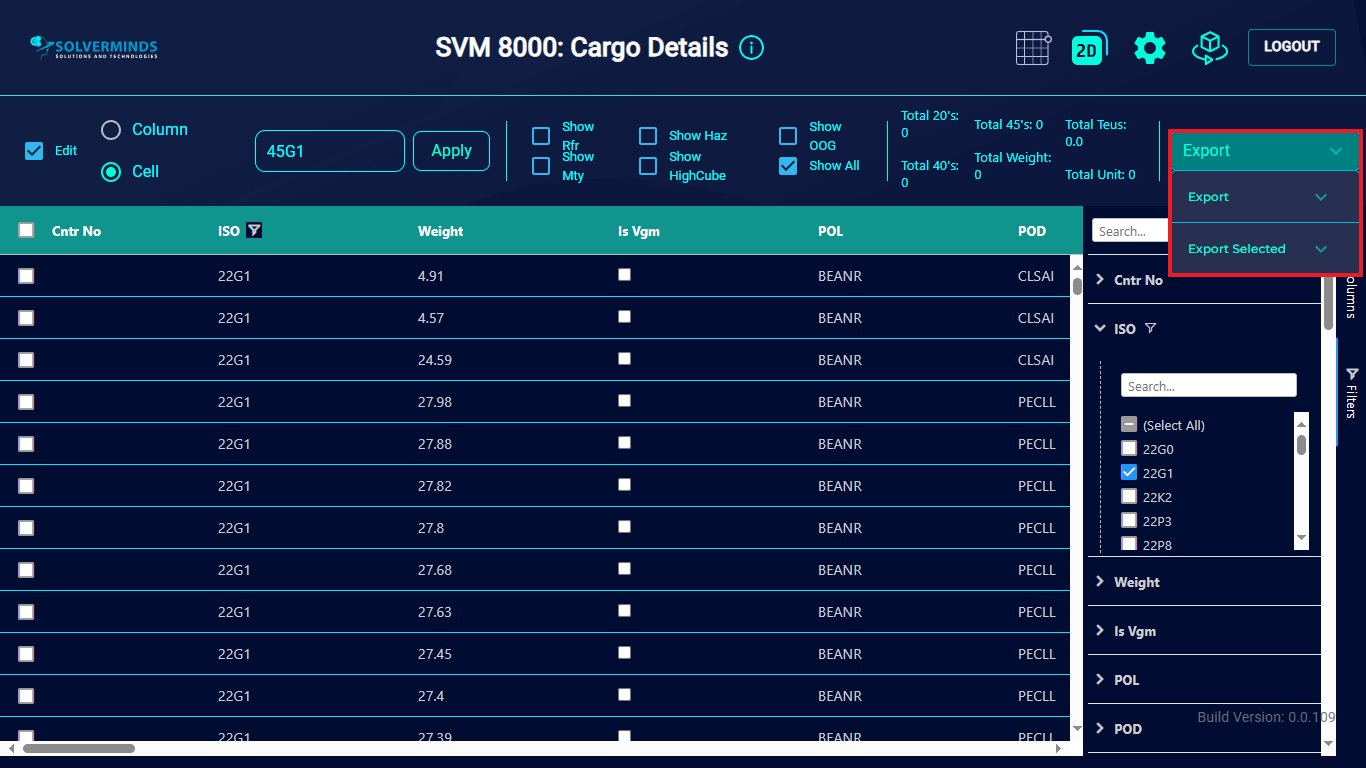
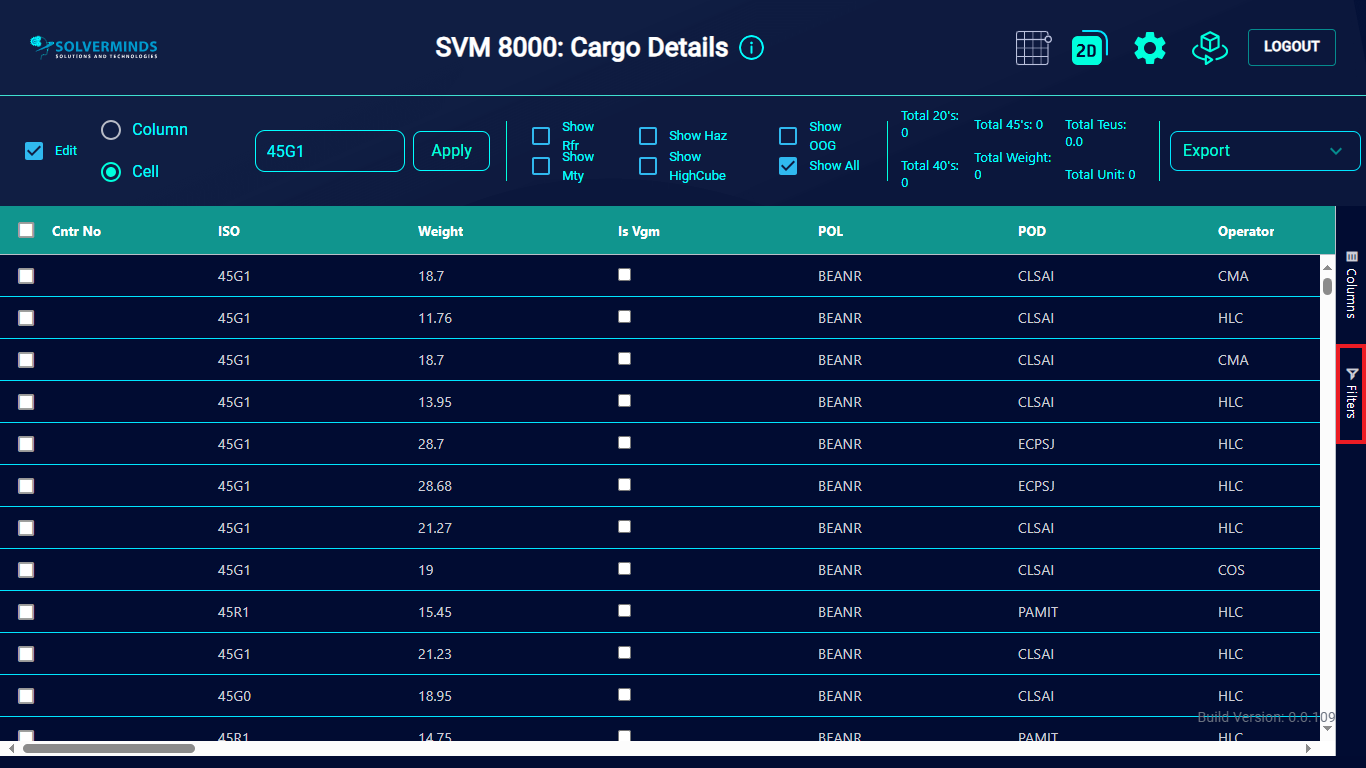
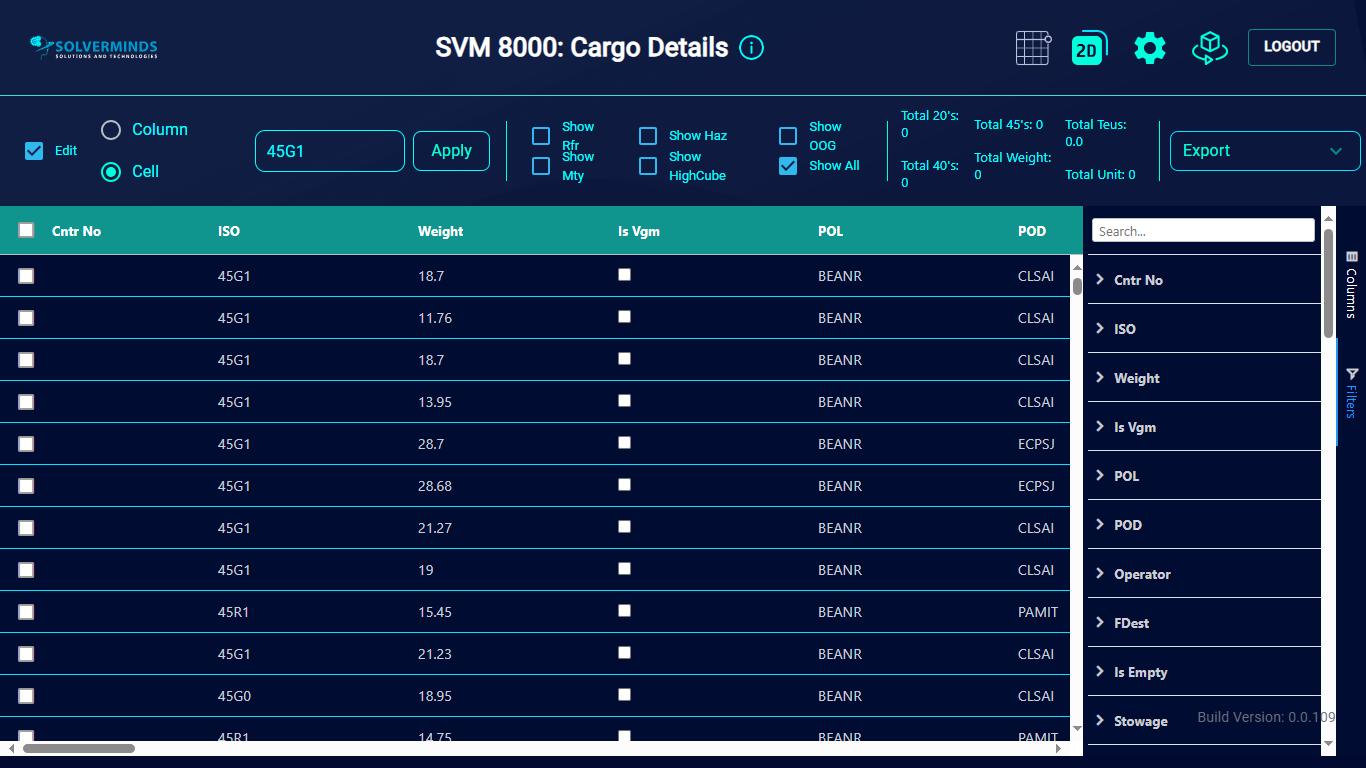
You can also select specific fields to display and export in a report. To do this, you need to click the Filters option at the right-hand side.
The list of fields is displayed.
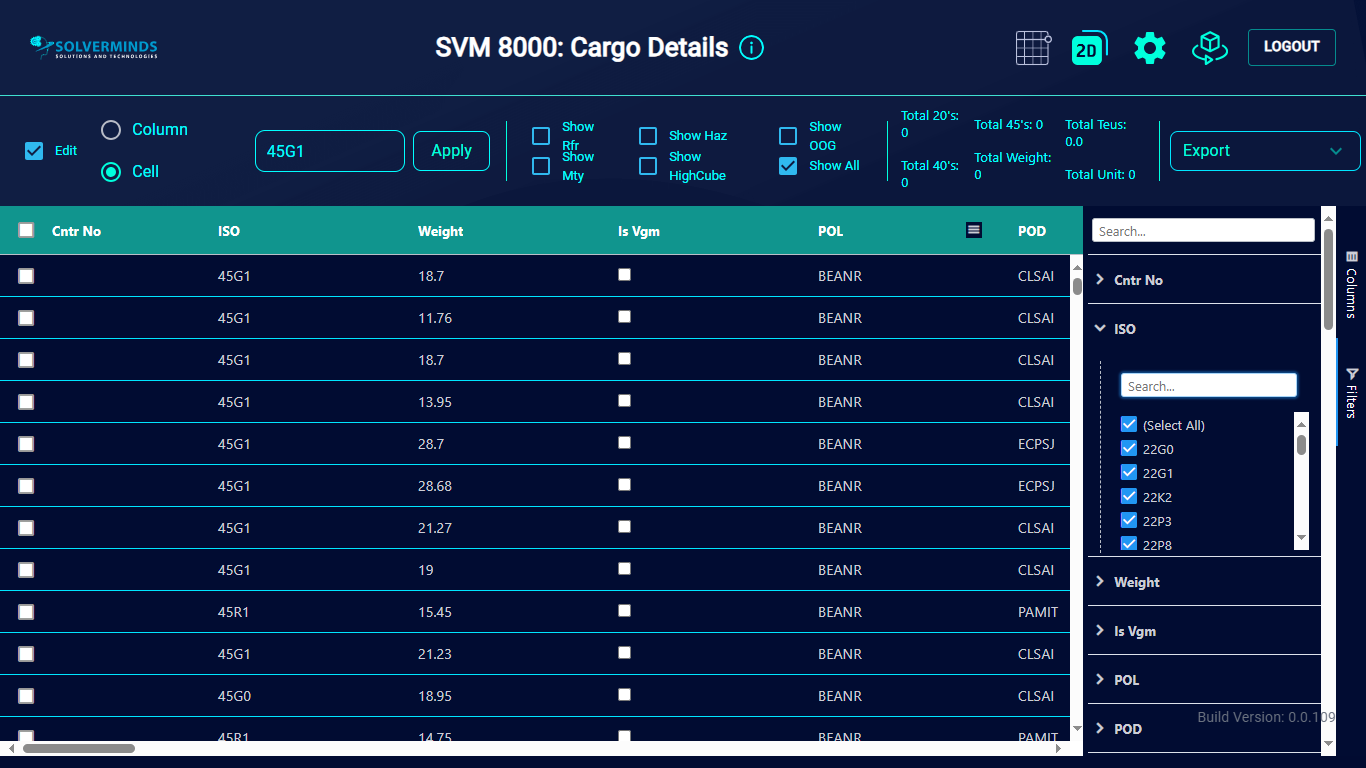
To view the data in each column so that the information can be filtered even further, you can expand each column name. In this example, the ISO Code field has been expanded. Here, you can view a list of ISO Codes. Here, you can use the check boxes next to each entry to pick the specific ISO Code that you want to generate a report for. Similarly, you can add other fields too.
Once you have made the necessary selections and applied the necessary filters, you need to select an option from the Export list and export the report.